I found this idea on Disney's Family Fun craft site (here) and I thought it would be fun to make. Reading through their instructions I get kind of lost because they don't have enough info and picture. (One thing I don't like about that site.) So I searched the internet to see if someone had made these and had more tips. And I found some good tips here. (Like the thing about the seams. Genius! It made it all make sense.) I used dry erase marker to draw the lines on the jug but they sort of stay on. But I am pretty sure they'll come off with hot water. :)
Do you want to know how I made mine? Complete with pictures. This will help me when I do another one too. I'll have all the tips and stuff right here with photos. Then I'll remember what works best.
...
Supplies
- A one-gallon plastic milk/water container
- Rinsed and dry.
- Peel off the sticker if you so desire. Wash sticker residue off.
- Velcro self-adhesive dots
- Sharp scissors - sharp scissors are key
- Thumbtack
- Utility knife (optional)
- Ruler (optional)
- Dry erase marker (optional)

Let's get started ...
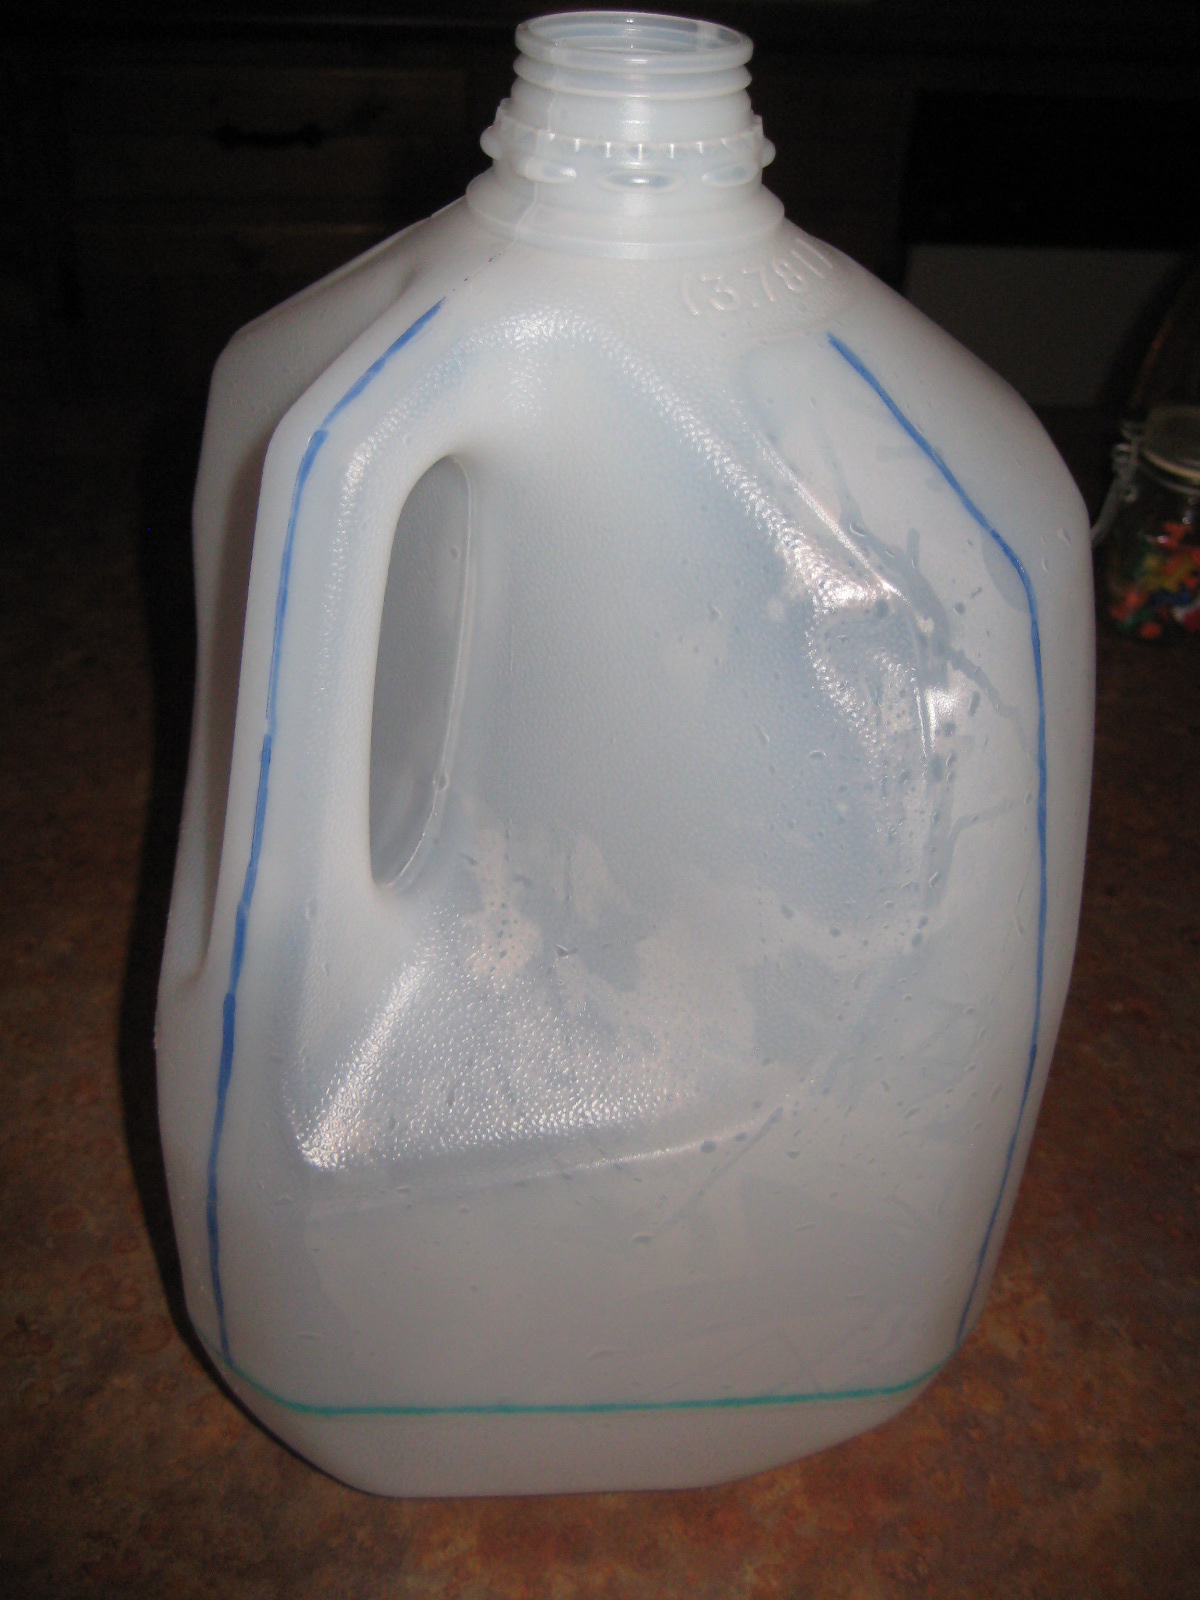
- Locate the seams of the plastic jug. ... There are small seams down all four corners and about 1 1/2 inches from the bottom of the jug. (In the photo the seams are marked blue for the vertical corner seams and green for the bottom horizontal seam.)
- Using the thumbtack, pierce holes, approximately every 1/4 inch, on the bottom (green) seam. The thumbtack holes will create fold lines for the container.
- Draw cut lines on three short sides of the jug. ... These cut lines will begin at one corner and make an arc to the next corner, extending about 2 inches above the thumbtack lines.
- The fourth side will be the cover of the sandwich container. Draw this cut line all the way to the top curve of the milk jug, arc like the other three sides.
- Note: the cut lines form a small upside-down “Y” (or a triangle) right at the thumbtack line. This will ensure the plastic folds into a box.
- Start cutting the plastic milk jug with the large scissors. (You may also use a utility knife for the longer cuts. Be careful! It's not the most steady idea.)
- Make sure you use sharp scissors when approaching the bottom of the jug. ... Use the tip of the sharp scissors to form the upside down “Y” and nip off the sharp triangle that is formed.
- Use the sharp scissors to trim any jagged straight lines.
- The jug now has three short sides and one long side.
- Fold the sides back and forth along that dotted line until they fold nice and flat. (I folded them all in and creased. Then folded them back out and creased. And one more in the center and creased.)
- Fold the long side over the box.
- Use Velcro dots to create a reusable closure where the long side folds over.
- There you have a recycled container.


- Some ideas for uses I had:
- Use for lunch. It's hand washable and great for a sandwich and some chips or snacks.
- Put one in your glove box to keep pens, pencils, a small notepad, some change, gum, etc. (I might just do this.)
- They would be perfect for snacks when travelling. (ie. dry cereal, goldfish, teddy grahams, etc)
- Use them in suitcases to keep small items such as jewelry, phone cords, small trinkets, etc.
- The same instructions/idea can be used for half-gallon jugs for smaller and/or taller snack containers.
No comments:
Post a Comment